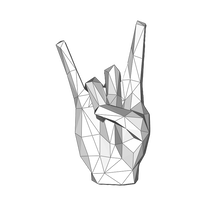
Papercrafts may become a preoccupation
a good one !
Here are a few examples of tools needed:
|
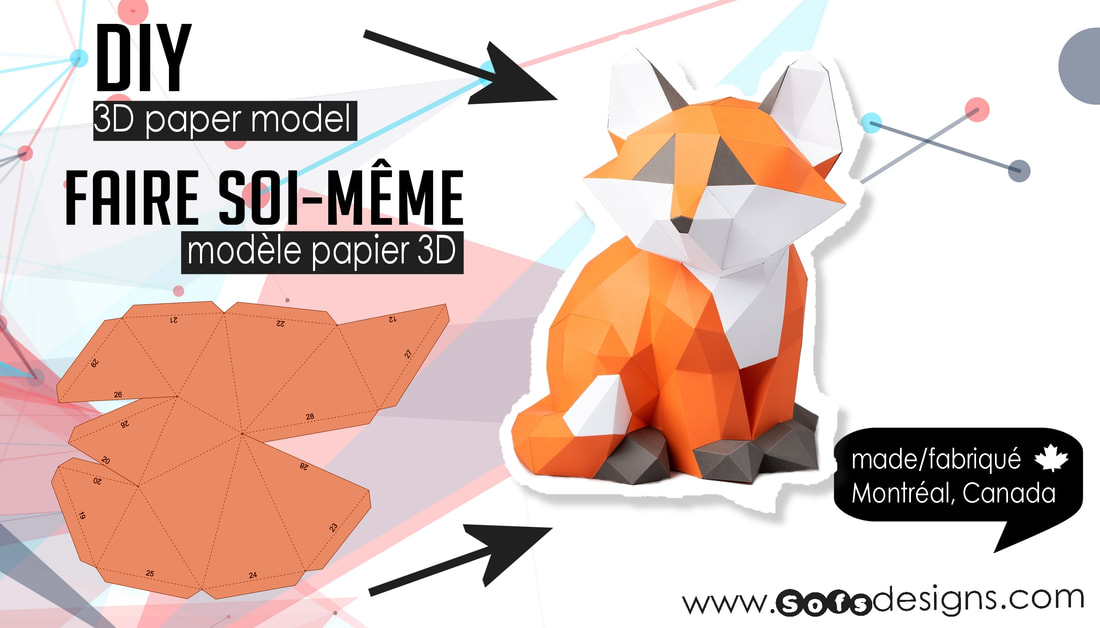
3D papercrafting is unique. The supplies and skills are readily available, affordable and the results make for big impact.
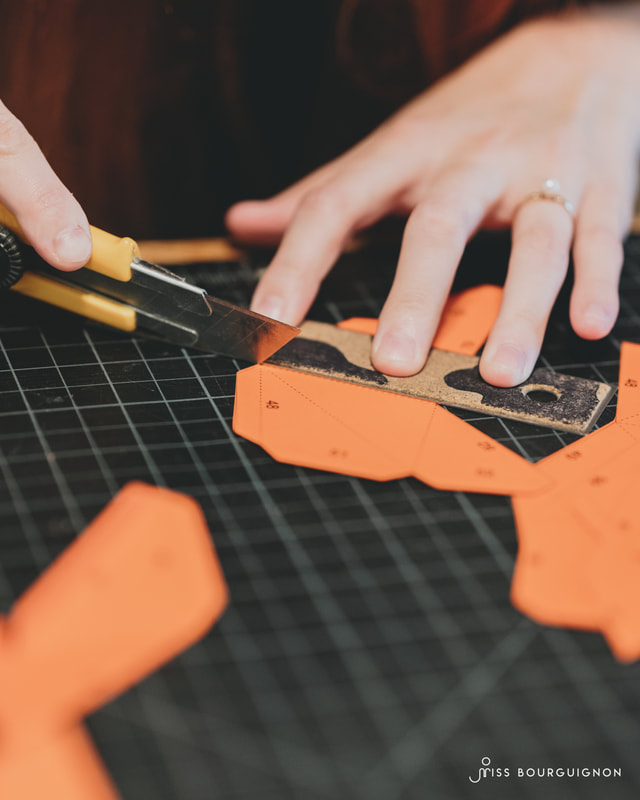
Here are the things you will need: - Printer * - Paper, anywhere from paper to card stock (65-100lb) * - Craft knife and cutting mat or scissors - Glue stick, white glue or double side tape (hot glue doesn’t work really well) - Ruler and something sharp-ish to score your fold lines * more details here |

|

|

|

|

|
Difficulty level
Generaly kids from 10-12 years old can make their own 3d papercraft however it really depends on the person. That said, at any age it is a fun activity to do as a family or with friends! Younger children can help by drawing or painting on the paper or also they can look for the matching numbers on pieces. Whne the models have very small pieces we tend to classify them as more 'expert or difficult'. Bigger models may take a bit longer to make but don't necessarly fall into the more difficult because they can have big pieces and are easier to handle.

* can take 1 to 4 hours
|

* can take 4 to 8 hours
|

* can take 6 to 16 hours
|
* these are guidelines only. Know that your first one will always be the hardest/longest to do!
'how to' in wordsIf you get your template in a digital format, you first need to print your template on the color cardstock paper of your choice. Please refer to 'how to get a template' page for more details.
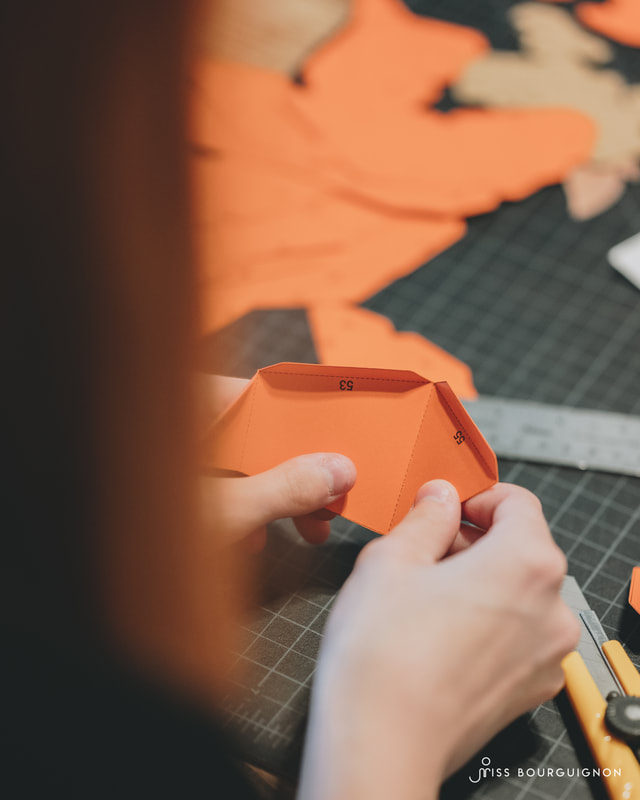
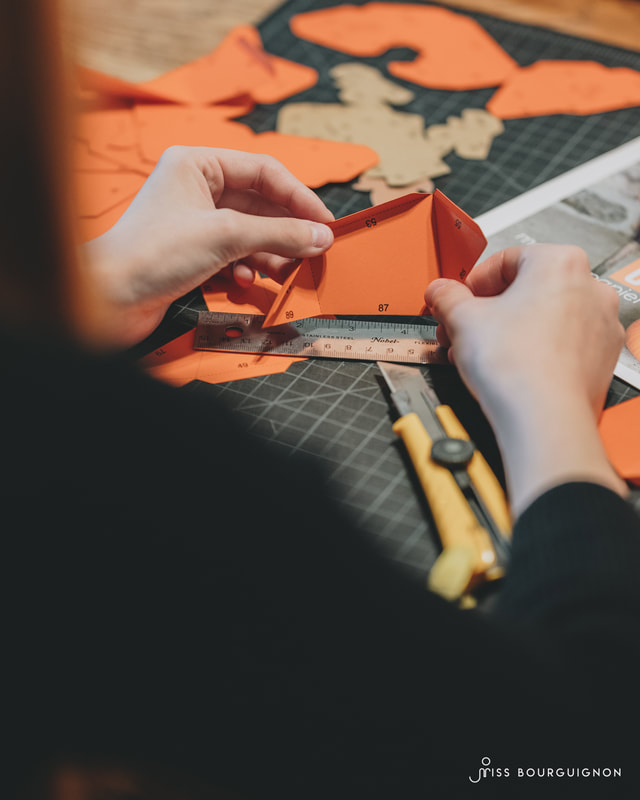
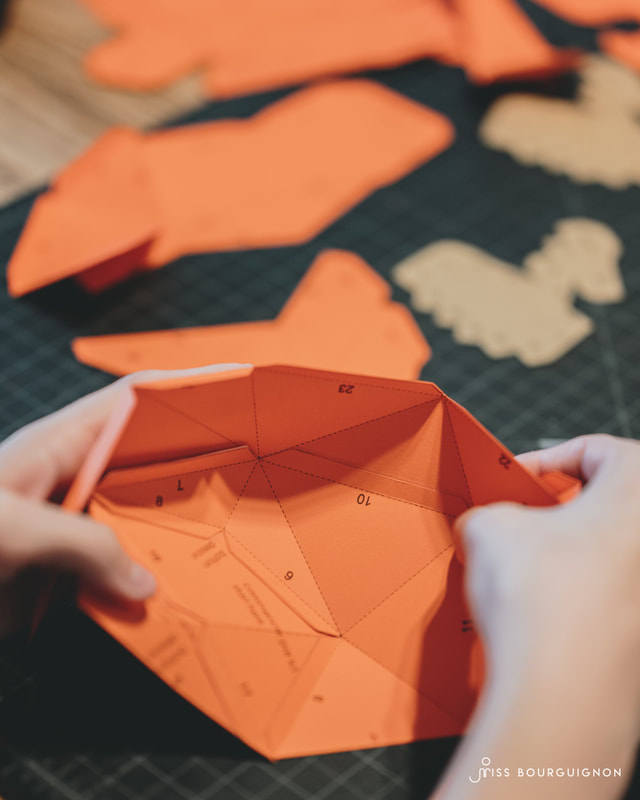
FOR ILLUSTRATED models : (come with graphics on them already) Do the reverse action for the folding lines!) CUTTING, scoring and FOLDING Once you have the paper template, you will need to prepare your pieces first by cutting them out. Then, score the fold lines since this allows for a clean fold (see reference on right). Notice that the fold lines make mountains and valleys on 'clean' side of paper. Once that's done, you`re ready for assembly. ASSEMBLING All tabs have a matching numbers and this is where you glue (or double side tape) the two same number tabs together. 

|

`Since you have a 'template side' and a 'clean side', you glue all tabs on template side so that your model has no trace of the template once complete. Below are some images to help you visualize the process.
WE STRONGLY RECOMMEND that you start with the top of the model and work your way down adding one piece at a time. For example, starting with a piece from the head and add one piece until the head is done then continue on your way around body until you reach the last piece at bottom (or against the wall). Often time that last piece will offer the option to cut a whole so you can reach inside so its eaiser to glue. The body parts are written on the peices so you can tell which is which. Organize them a little bit so you know where you are going ahead of time. Keep in mind that this is a bit like making a puzzle. The activity does take some time and should not be `rushed`. Take your time and enjoy the flow. The designs can be used as toys, decorations, and as gift boxes or 'greeting cards'. There are so many uses you are sure to find new ones all the time. All of the designs that you will find here are originals - created by us - and have been tried in real life. Have fun making stuff…you`ll feel happy and live longer! |
'how to' in pictures


'how to' in video
First step: How to cut your pieces
Second step: How to score and fold your pieces